Understanding Garage Door Openers Technology: Replacing Your Garage Door Opener Remote
- Apr 29
- 5 min read
If you’ve ever found yourself standing outside your garage, fumbling through your pockets or purse for your garage door opener remote only to realize it’s missing or dead, you know how frustrating it can be. Replacing your garage door opener remote might seem like a small task, but it’s essential for the convenience and security of your home. I’m here to walk you through everything you need to know about garage door openers technology and how to replace your remote with ease.
How Garage Door Openers Technology Has Evolved
Garage door openers have come a long way from the simple push-button devices of the past. Today’s garage door openers use advanced technology to provide better security, convenience, and reliability. Most modern systems use rolling code technology, which changes the access code every time you use the remote. This prevents anyone from intercepting the signal and gaining unauthorized access.
Another advancement is the integration of smart technology. Many garage door openers now connect to your smartphone, allowing you to open or close your garage door remotely, receive alerts, and even schedule automatic closing times. However, the traditional remote control remains a staple for many homeowners because of its simplicity and ease of use.
Understanding these technologies helps when it’s time to replace your remote. You want to make sure the new remote is compatible with your existing opener system to avoid any headaches.

What You Need to Know Before Replacing Your Garage Door Opener Remote
Before you rush out to buy a new remote, there are a few things you should check:
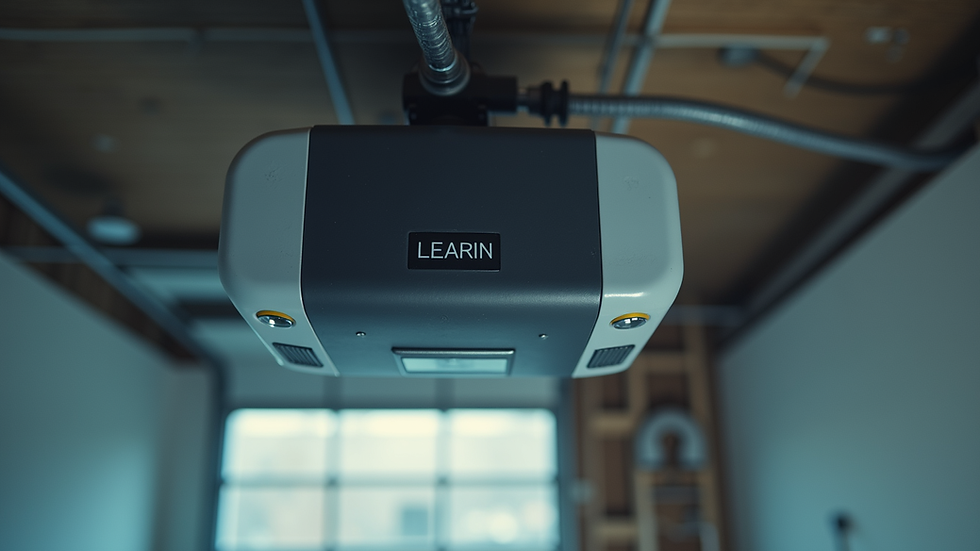
Identify the brand and model of your garage door opener: This information is usually found on the motor unit inside your garage. Knowing this helps you find a compatible remote.
Check the frequency of your current remote: Most garage door remotes operate on frequencies like 300 MHz, 310 MHz, or 390 MHz. The new remote must match this frequency.
Determine if your remote uses rolling code technology: If it does, the new remote must support this feature.
Consider the number of buttons you need: Some remotes control multiple garage doors or gates, so make sure you get one with the right number of buttons.
Once you have this information, you can shop for a remote that fits your needs. Many hardware stores and online retailers offer universal remotes that work with a variety of brands and models, but sometimes a manufacturer-specific remote is the best choice.
Can you just replace the garage door opener remote?
Yes, in most cases, you can just replace the garage door opener remote without needing to replace the entire garage door opener system. The process is usually straightforward, but it depends on the compatibility of the new remote with your existing opener.
Here’s what you typically need to do:
Purchase a compatible remote: As mentioned earlier, make sure it matches your opener’s brand, model, and frequency.
Program the new remote: Most remotes come with instructions on how to sync them with your garage door opener. This usually involves pressing a "learn" button on the opener motor and then pressing a button on the remote.
Test the remote: After programming, test the remote to ensure it opens and closes the garage door smoothly.
If you run into trouble programming the remote or if the new remote doesn’t work, it might be time to call a professional. Sometimes, older garage door openers require special steps or tools to program new remotes.
Step-by-Step Guide to Replace Your Garage Door Opener Remote
Replacing your garage door opener remote can be a simple DIY project if you follow these steps carefully:
Step 1: Gather Your Tools and Information
New compatible remote
Ladder (if needed to reach the motor unit)
Owner’s manual or model number of your garage door opener
Step 2: Locate the Learn Button on Your Garage Door Opener
The learn button is usually on the back or side of the motor unit. It might be under a light cover or near the antenna wire. This button allows you to program new remotes.
Step 3: Clear Old Codes (Optional but Recommended)
If you want to remove old remotes or clear all programmed remotes for security reasons, press and hold the learn button for about 10 seconds until the indicator light turns off. This erases all previous codes.
Step 4: Program the New Remote
Press the learn button once. The indicator light will turn on.
Within 30 seconds, press and hold the button on your new remote that you want to use to operate the door.
Release the button when the indicator light blinks or turns off, indicating successful programming.
Step 5: Test the Remote
Press the button on your new remote to open and close the garage door. If it works smoothly, you’re done!
If it doesn’t work, repeat the programming steps or consult your opener’s manual for specific instructions.
Tips for Maintaining Your Garage Door Opener Remote
Once you have your new remote, keeping it in good working order is important. Here are some tips:
Replace batteries regularly: Most remotes use small coin batteries. Replace them every 1-2 years or when the remote’s range decreases.
Keep the remote clean and dry: Avoid dropping it or exposing it to moisture.
Store the remote in a consistent place: This helps prevent losing it.
Avoid pressing buttons unnecessarily: This can drain the battery faster.
If you notice your remote isn’t working well even after replacing the battery, it might be time to get a new one or have your garage door opener checked by a professional.
When to Call a Professional for Garage Door Opener Remote Replacement
While replacing a garage door opener remote is often a simple task, there are times when professional help is the best option:
If your garage door opener is very old and you can’t find a compatible remote.
If programming the remote doesn’t work despite following instructions.
If the garage door opener motor unit has issues or error lights.
If you want to upgrade your entire garage door opener system to a newer model with smart features.
A local garage door technician can quickly diagnose the problem and recommend the best solution. They can also help you replace garage door opener remote safely and efficiently, ensuring your garage door works reliably.
Replacing your garage door opener remote doesn’t have to be a hassle. With the right information and a little patience, you can restore the convenience and security of your garage door in no time. If you ever feel stuck, don’t hesitate to reach out to a trusted local expert who knows the ins and outs of garage door openers technology.
I hope this guide helps you feel confident about replacing your garage door opener remote. Remember, a working remote is not just about convenience - it’s about keeping your home safe and accessible.


Comments